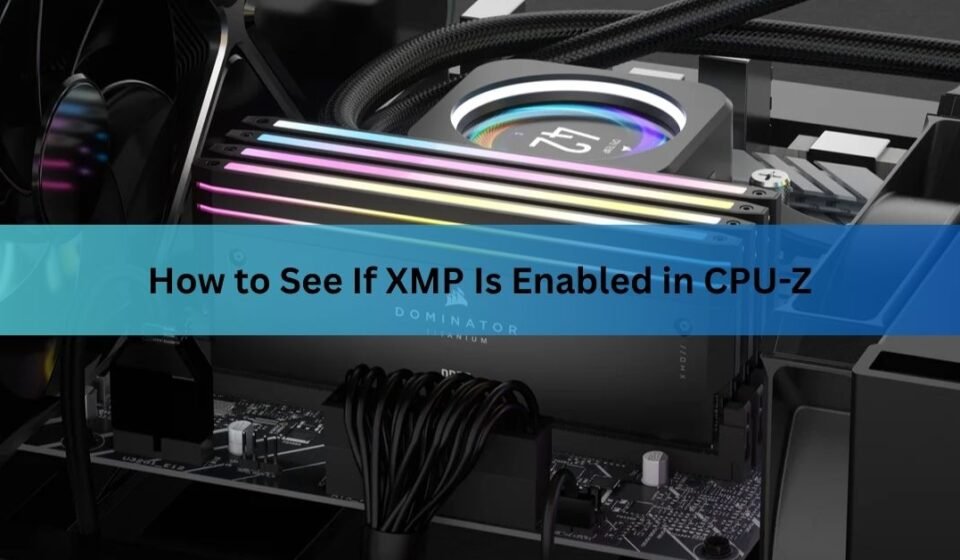

Open CPU-Z, click the Memory tab, and look at the DRAM Frequency field. Double that number. If the result matches your RAM’s advertised speed, XMP is running. If the doubled value sits well below that, XMP is off.
That’s the core answer. The rest of this guide walks you through each step in detail, explains how to cross-check your result on the SPD tab, covers AMD systems running EXPO or DOCP, and explains what to do when XMP should be on but the numbers say otherwise.
What XMP is, and what happens without it
XMP stands for Extreme Memory Profile. It’s a set of speed, timing, and voltage settings stored in a small chip on your RAM stick. When your motherboard reads that profile and applies it, your RAM runs at the full speed printed on the box. When the profile isn’t applied, the board falls back to a much slower default.
That slower default is called JEDEC, a universal baseline designed so any memory stick will at least boot in any compatible board. For DDR4, the standard JEDEC speeds are 2133 MHz and 2400 MHz. For DDR5, the baseline is 4800 MHz. So if you paid for a DDR4-3600 kit and XMP has never been enabled, your RAM has been running at 2133 MHz since the day you built the PC, not 3600 MHz.
This isn’t a hardware defect. It’s how memory works. The XMP profile is there and waiting; it just needs to be switched on. CPU-Z lets you verify whether it’s active without touching the BIOS.
Key takeaway: XMP is an opt-in setting. Your RAM will not automatically run at its rated speed unless you enable the profile in BIOS.
Step 1: Download and open CPU-Z
CPU-Z is a free system-info utility published by CPUID. It reads data directly from your hardware and reports back your CPU, memory, motherboard, and GPU specs in a single compact window. For memory specifically, it shows the current DRAM frequency, channel mode, timings, and the XMP profiles stored on each stick.
Download it from cpuid.com and run the standard installer. The install is quick, no reboot required. Once open, you’ll see a tabbed interface with CPU, Caches, Mainboard, Memory, SPD, and Graphics tabs. You only need Memory and SPD for this check.
There are also branded versions of CPU-Z bundled with ASUS ROG, AORUS, and MSI software suites. These are functionally identical to the standard version for the purpose of reading memory speed, so use whichever you already have.
Step 2: Check the Memory tab
Click the Memory tab. The display shows general memory info at the top: type, size, and channel configuration. Further down, under a section labeled Timings, you’ll find DRAM Frequency. That’s the number you want.
Before you interpret it, you need to understand why the number looks smaller than you’d expect.
Why CPU-Z shows half your RAM’s speed
DDR stands for Double Data Rate. The memory bus transfers data on both the rising and falling edge of each clock cycle, effectively doubling the throughput compared to the raw clock speed. CPU-Z reports the raw clock, not the doubled transfer rate.
This means you always need to multiply the CPU-Z DRAM Frequency by 2 to get the effective speed. Here’s the conversion for the most common kit speeds:
Reference: CPU-Z DRAM Frequency vs. effective RAM speed
| CPU-Z DRAM Frequency | Effective speed (x2) | XMP status |
| 1066 MHz | DDR4-2133 | XMP off — JEDEC default |
| 1200 MHz | DDR4-2400 | XMP off — JEDEC default |
| 1333 MHz | DDR4-2666 | XMP off — JEDEC default |
| 1600 MHz | DDR4-3200 | XMP on — common DDR4 target |
| 1800 MHz | DDR4-3600 | XMP on — popular DDR4 target |
| 2000 MHz | DDR4-4000 | XMP on |
| 2400 MHz | DDR5-4800 | XMP off — DDR5 JEDEC default |
| 2800 MHz | DDR5-5600 | XMP/EXPO on |
| 3000 MHz | DDR5-6000 | XMP/EXPO on — popular DDR5 target |
So if CPU-Z shows 1800 under DRAM Frequency, your kit is running at DDR4-3600. If it shows 2133 MHz or 1066 MHz, your DDR4 RAM is almost certainly sitting at the JEDEC default and XMP is not active. For DDR5, 2400 MHz in CPU-Z means the board is using the 4800 MHz JEDEC baseline.
Compare your calculated speed to what’s on the box or the product listing. If they match, XMP is working. If your calculated speed is significantly lower, proceed to the SPD tab to confirm what the stick is rated for, then head into the BIOS to enable the profile.
Step 3: Cross-check on the SPD tab
The SPD tab shows you everything stored on the RAM stick’s Serial Presence Detect chip. This chip holds the complete catalog of speed profiles the memory supports: standard JEDEC entries and, if the kit was built for it, one or more XMP entries.
Click the SPD tab. At the top, there’s a Slot # dropdown. If you have two sticks installed but the screen looks blank, switch the slot to a populated one. Each slot shows data for the module seated there.
What to look for in the SPD tab
Two things matter here. First, the Part Number field near the top. That’s your stick’s model identifier. If you search it online, the product page will confirm the rated XMP speed. Second, the Timings Table further down the screen.
The Timings Table lists every profile programmed onto the stick. JEDEC entries appear at the low end (DDR4-2133, DDR4-2400, DDR4-2666, etc.). If the stick has XMP support, you’ll see entries labeled something like XMP-3600, XMP-3200, or XMP-4800 with a corresponding frequency.
The SPD tab is a spec sheet, not a live status readout. It tells you what speeds the stick is capable of running, but it doesn’t show which profile is currently active. The Memory tab is the live readout. If the XMP entry in the SPD tab shows 1800 MHz (DDR4-3600) but the Memory tab shows 1066 MHz (DDR4-2133), the XMP profile isn’t being used.
If no XMP entry appears in the SPD tab at all, your stick may be a basic JEDEC-only module without an XMP profile. Standard RAM sold for office PCs often falls into this category. You cannot enable what isn’t there.
What to do if XMP is not running
If your Memory tab shows the JEDEC default speed and the SPD tab confirms an XMP profile exists on the stick, you need to enable XMP in the BIOS. Here’s the full process:
- Restart and enter the BIOS. Press Delete, F2, or F10 immediately after the screen turns on. The exact key depends on your motherboard; it’s usually shown briefly on screen at startup. If you miss the window, restart and try again.
- Look at the RAM speed on the BIOS summary screen. Most modern boards show memory speed on the first Easy Mode screen. If it says something like 2133 MHz or 4800 MHz next to your memory slots, XMP is off.
- Find the XMP setting. On Intel boards it’s labeled XMP or XMP Profile. On ASUS AMD boards, look for D.O.C.P. On MSI AMD boards, it’s often A-XMP. The setting typically lives under an Overclocking, Tweaker, OC, or Advanced Memory section. On some boards you need to switch from Easy Mode to Advanced Mode first.
- Enable the profile. Select XMP Profile 1 (or just toggle the setting to Enabled). If your kit lists two profiles, Profile 1 is the full rated speed and Profile 2 is usually a slightly more conservative alternative.
- Save and reboot. Press F10, confirm the exit prompt, and let the system restart. The first boot after enabling XMP may take 15 to 45 seconds longer than usual. The board is performing memory training, where it tests the profile settings to confirm stability. This is normal and expected.
- Verify in CPU-Z. After Windows loads, open CPU-Z and check the Memory tab. The DRAM Frequency should now show the value that corresponds to your kit’s rated speed.
Tip: If your system won’t POST after enabling XMP, most boards reset automatically to JEDEC defaults after two or three failed attempts. You’ll boot into Windows safely. From there, update your motherboard BIOS firmware and try again. Newer BIOS versions often include memory compatibility improvements that make high-speed kits boot more reliably.
AMD users: EXPO and DOCP check the same way
If you’re building on AMD Ryzen, the process in CPU-Z is identical. The Memory tab still shows DRAM Frequency, and you still double it to get the effective speed. There’s nothing AMD-specific to look for in CPU-Z itself.
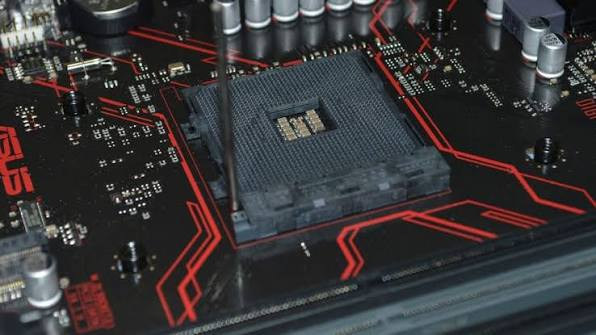
The difference is in the BIOS. AMD platforms don’t use the XMP label natively. Instead, you’ll find one of these depending on your board manufacturer:
- DOCP or D.O.C.P. on ASUS AMD boards — reads Intel XMP data from the RAM stick and applies it for the AMD memory controller
- A-XMP on MSI AMD boards — same function, different label
- EOCP on Gigabyte AMD boards
- EXPO on any AMD board supporting DDR5 with Ryzen 7000 or newer — AMD’s native equivalent to XMP, optimized specifically for the AM5 platform
The G.SKILL XMP/EXPO setup guide shows exactly where each of these settings lives across ASUS, MSI, Gigabyte, and ASRock boards, which is helpful if you’re not sure where to look on your specific model.
Once enabled, CPU-Z will reflect the change on the Memory tab. A Ryzen system running DDR5-6000 will show 3000 MHz DRAM Frequency after enabling EXPO, just as an Intel system would.
Other ways to verify memory speed
CPU-Z is not the only tool that shows this information. Here’s how the main options compare:
| Method | What it shows |
| CPU-Z Memory tab | Base clock (must double for effective speed). Shows timings. More technical. |
| CPU-Z SPD tab | What XMP profiles exist on the stick and what speeds they target. Does not show active profile. |
| Windows Task Manager | Effective DDR rate directly — no math needed. Quick but less detail. |
| HWiNFO64 | Most granular: voltages, clock, SPD data all in one screen. Best for deep troubleshooting. |
Task Manager is the fastest option for a one-second sanity check: press Ctrl+Shift+Esc, click Performance, then Memory, and look at the Speed field. Unlike CPU-Z, Task Manager shows the effective DDR rate directly, so 3600 MHz there means XMP is working and you don’t need to do any math.
Where CPU-Z wins is depth. The SPD tab gives you the manufacturer’s profile data alongside the live reading, which makes it much easier to diagnose mismatches. If Task Manager shows 2133 MHz and you suspect it shouldn’t, CPU-Z tells you exactly what the stick is rated for and whether a valid XMP entry even exists on the chip.
Common reasons XMP does not take effect
XMP is enabled in the BIOS but CPU-Z still shows the slow default speed more often than it should. A few things cause this:
- RAM installed in the wrong slots. For dual-channel operation, most boards want sticks in specific slots, usually labeled A2 and B2 (the second and fourth slots counting from the CPU socket). Installing in A1 and A2 instead can prevent XMP from applying or cause instability.
- Mixed memory kits. Two sticks from different manufacturers, different speeds, or different capacities will force the board to the lowest common denominator. XMP typically won’t engage reliably on mismatched kits. Use a matched pair from the same kit.
- Outdated BIOS firmware. Boards add RAM compatibility improvements through BIOS updates. A kit that won’t train at XMP speeds on an older BIOS often works fine after a firmware update. Check your board manufacturer’s download page for the latest release.
- Board reset after a crash. If the system crashed or lost power during a boot that was using XMP, some boards reset memory settings to JEDEC as a safety measure. You may need to re-enable XMP after such events.
- CPU memory controller limits. The CPU’s integrated memory controller (IMC) sets a ceiling on what speeds it can reliably support. Older or lower-end CPUs may struggle with very high XMP speeds even when the motherboard supports them. If XMP causes repeated boot failures on a known-compatible board, a slightly lower manual frequency may be more stable.
In every case, the starting point is the same: open CPU-Z, check the Memory tab, and see what the system is actually running. That reading tells you where the problem begins.
Frequently asked questions
Why does CPU-Z show half my RAM’s speed?
CPU-Z reports the base clock frequency. DDR memory transfers data twice per clock cycle, so the effective rate is always double the base clock. A kit labeled DDR4-3600 runs at a 1800 MHz base clock. Always multiply the CPU-Z DRAM Frequency by 2 to get the speed that matches what’s on the box.
Does CPU-Z display an ‘XMP enabled’ label anywhere?
No, there’s no dedicated XMP status indicator in CPU-Z. You confirm it by verifying that the DRAM Frequency on the Memory tab, doubled, matches the kit’s rated speed. The SPD tab shows which XMP profiles exist on the stick, but it doesn’t indicate which profile is currently active.
My DDR4-3600 RAM shows 2133 MHz in CPU-Z. Why?
Your board is running the RAM at the JEDEC baseline speed, meaning XMP has not been enabled. Go into the BIOS, find the XMP, DOCP, or A-XMP setting (depending on your platform), enable Profile 1, save, and reboot. Recheck CPU-Z after the restart.
Will enabling XMP damage my RAM or void my warranty?
XMP profiles are manufacturer-tested settings included specifically so your RAM can run at its rated speed safely. Running at the rated XMP frequency doesn’t void the RAM warranty. Manually pushing memory beyond its rated XMP speed through custom overclocking is a separate matter.
I enabled XMP and my system won’t boot. What now?
Most boards reset to JEDEC defaults automatically after two or three failed boot attempts, so your data is safe. From Windows, update your BIOS firmware, which often improves compatibility with high-speed kits. You can also try selecting a lower profile if your kit includes one, or manually set a slightly lower frequency until the system stabilizes.
Conclusion
To confirm XMP is enabled using CPU-Z, open the Memory tab and double the DRAM Frequency value. If the result matches your RAM’s rated speed, the profile is active and your memory is running as intended. If the number is lower, go to the SPD tab to confirm what profile the stick supports, then enable XMP, DOCP, A-XMP, or EXPO in the BIOS depending on your platform. The Memory tab shows the live reading; the SPD tab shows what the stick is capable of. Together they give you everything you need to know without ever opening the BIOS to check.
Recommended Articles: